Exclusive Online Offer: Free Shipping On Orders Over €90,00!
Press-On Nails With Adhesive Tabs: A Gentle No-Glue Guide
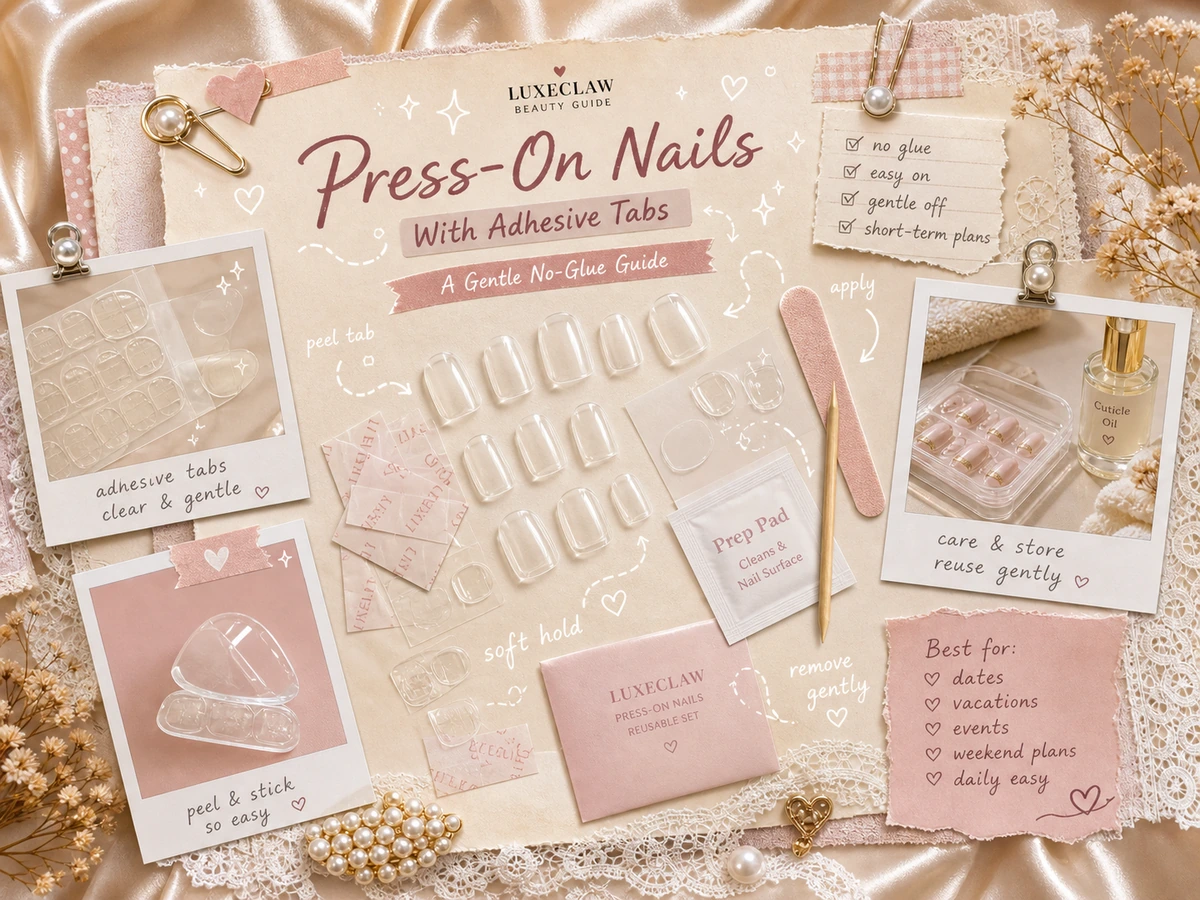
Press on nails with adhesive tabs are for the days when you want a pretty manicure without committing to glue. Maybe you are getting ready for a weekend trip, a dinner date, a photoshoot, or just a small mood-lift after a long week. Tabs keep things simple: peel, place, press, and enjoy.
They are not magic stickers, though. Sizing, prep, application, and removal all matter. Here is how adhesive tabs work, when they make more sense than glue, and how to keep your handmade press-ons looking polished while staying kind to your natural nails.
What Are Adhesive Tabs for Press-On Nails?
Adhesive tabs are small double-sided nail stickers made to sit between your natural nail and the press-on nail. One side attaches to your nail, the other side attaches to the press-on. Instead of brushing on nail glue, you peel away the backing, align the nail near your cuticle, and press firmly until it feels secure.
For many shoppers, adhesive tabs are the no-glue way to wear press-ons. They are usually easier to remove than glue, which makes them useful for short wear, beginners, events, travel, or anyone who likes switching designs often.
Adhesive Tabs vs Nail Glue: Which Should You Choose?
The simplest way to compare them: tabs are lower-commitment, while glue is usually longer-wear. Both can look beautiful when applied well. They just fit different plans.
Choose adhesive tabs when you want gentle, short-term wear
Tabs are helpful when you want your nails for a party, dinner, weekend outfit, cosplay, vacation photos, or a bridal event where you want flexibility afterward. They are also a friendly starting point if you are new to press-ons and still learning your best size and shape.
Choose glue when you want a stronger hold
If you want your nails to stay on through a longer stretch of daily life, glue may be the better choice. Glue generally gives a firmer bond, but it also needs more careful removal. Never pry glued nails off; patient removal matters more than speed.
How to Apply Press-On Nails With Adhesive Tabs
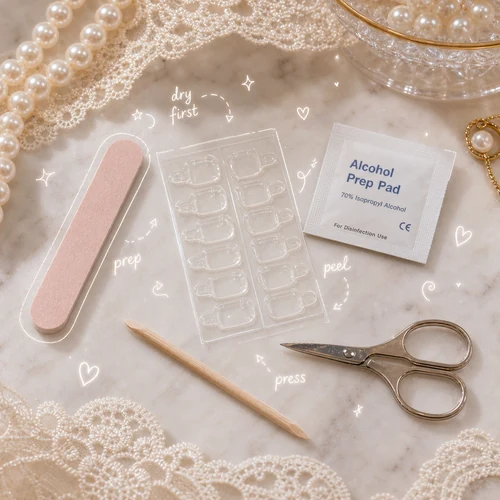
A good tab manicure starts before the nail touches your hand. Give prep a little time, and the final look will sit cleaner, closer, and more securely.
- Choose the right sizes. Match each press-on to your natural nail. If you are between sizes, a slightly smaller nail often looks cleaner than one that overlaps your skin.
- Wash and dry your hands. Oils, lotion, and water can weaken the bond, so start fresh.
- Push back cuticles gently. This gives the press-on a neater place to sit and helps prevent lifting at the base.
- Lightly buff if needed. You only need a soft surface, not aggressive filing.
- Use a prep pad or alcohol wipe. This removes leftover oils so the tab can grip better.
- Apply the tab to your natural nail. Smooth it down from center to edge, then peel away the top film.
- Place the press-on carefully. Align near the cuticle first, lower the nail down, then press firmly for 20 to 30 seconds.
After applying, keep your hands dry for a little while. That first dry window helps the adhesive settle.
How Long Do Press-On Nails With Adhesive Tabs Last?
Adhesive tabs are usually best for short wear, not a full long-wear manicure. Depending on your prep, nail shape, lifestyle, and water exposure, they may last a day, a weekend, or several days. Some people get longer wear, but tabs are best treated as flexible and low-commitment.
Tabs tend to lift sooner if your nails were oily, if the size was too wide, if the press-on overlaps skin, or if you soak your hands soon after applying. Long baths, dishwashing, cleaning chemicals, and using your nails as tools can also shorten wear time.
If you want a more detailed wear-time breakdown, you can also read our guide on how press-on wear changes with glue, tabs, prep, and daily care when it becomes available on the blog.
How to Remove Adhesive Tab Press-Ons Gently
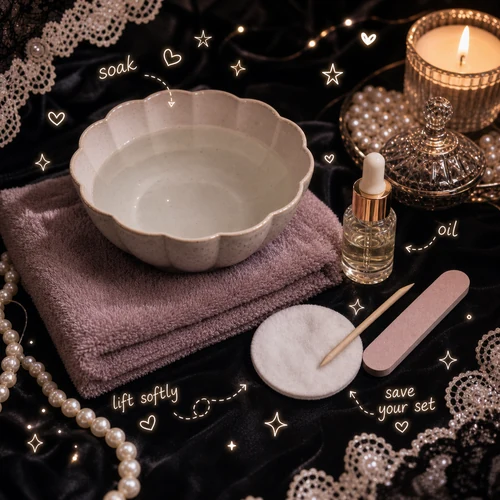
The main rule is simple: do not rip or force them off. Even with tabs, peeling too quickly can stress your natural nails or bend the press-on set.
Start with warm water and a little cuticle oil. Let the nails soften, then gently loosen the sides. If a nail does not want to move, give it more time. Slow removal is kinder than impatient removal.
If you hope to reuse the press-ons, be especially gentle. Remove leftover adhesive from the back of the nail carefully and store the set somewhere clean and dry. Reuse depends on the nail condition, adhesive residue, and how carefully the set was removed, so it is best not to treat reuse as guaranteed.
When Adhesive Tabs Feel Especially Lovely
Adhesive tabs make sense for low-pressure beauty moments: a wedding guest look, a vacation photo day, a birthday dinner, a cosplay outfit, or a weekend when you want your hands to feel finished without planning a two-week manicure.
For short-wear styling, browse LuxeClaw handmade press-on nails and choose a set that matches the day you are dressing for. A bright ocean-inspired design like Tropical Ocean works nicely for vacation photos, beachy outfits, or a soft summer mood.
Quick FAQ
Are adhesive tabs better than glue?
They are better for some plans, not all plans. Tabs are great for short wear, easier removal, and switching styles. Glue is usually better for a stronger, longer hold.
Can adhesive tabs damage natural nails?
Any artificial nail can be rough on natural nails if it is applied or removed harshly. Tabs are often easier to remove than glue, but you should still avoid peeling, prying, or rushing.
Can I shower with adhesive tab press-ons?
Water can weaken adhesive tabs, especially soon after application. If you want them to last, apply them after showering and avoid long soaking.
A Soft Final Note
Press on nails with adhesive tabs are not about doing the most. They give you an easy option: simple to wear, simple to change, and gentle when you apply and remove them with care. Prep well, press patiently, and let the set match the moment.