Exclusive Online Offer: Free Shipping On Orders Over €160,00!
Press On Nail Size Chart: Measure Once, Wear Better
Press on nail size chart numbers are there to save you from the most common fit problem: choosing a pretty set that is just a little too narrow or too wide for your natural nails. A few millimeters can change how secure, comfortable, and natural the manicure feels.
This guide keeps sizing practical. You will learn what to measure, how to read the chart, what to do when your left and right hands are different, and when custom sizing is worth it. If you are browsing designs now, keep the LuxeClaw shop open and compare your favorite shapes with the fit notes below.
What the numbers mean
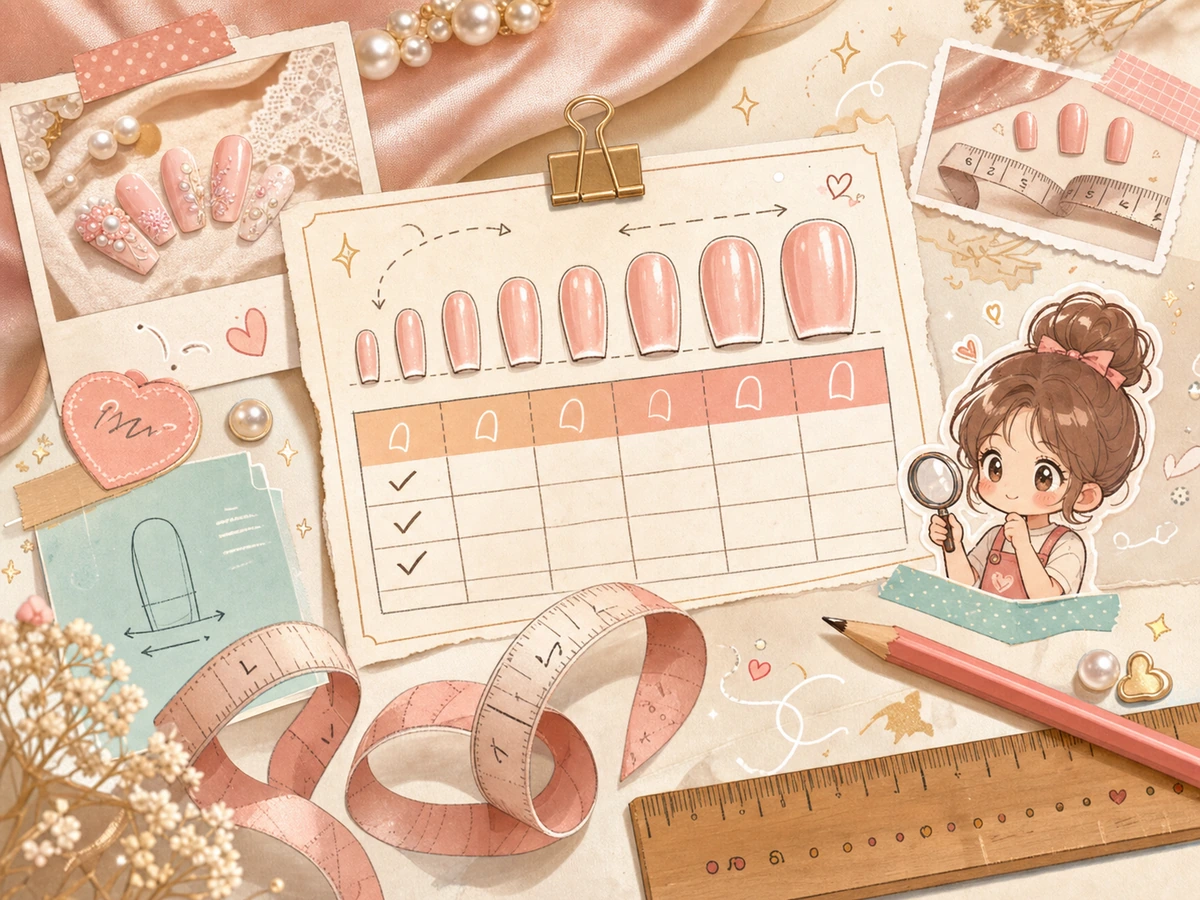
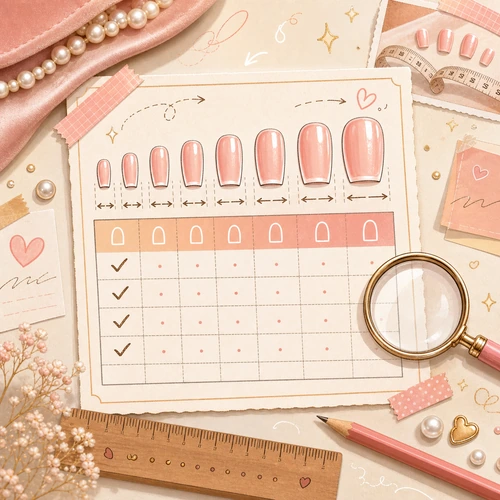
Most press-on charts show the width of each nail in millimeters. The number usually describes the widest part of the press-on, measured from side wall to side wall. Your job is to measure the widest part of your natural nail bed and choose the press-on that covers it without touching the skin.
A good fit should sit flat. If the press-on is too small, the sides may leave tiny gaps or feel like they are pulling inward. If it is too wide, it can push into the skin near the side walls and lift sooner than expected.
How to use a press on nail size chart
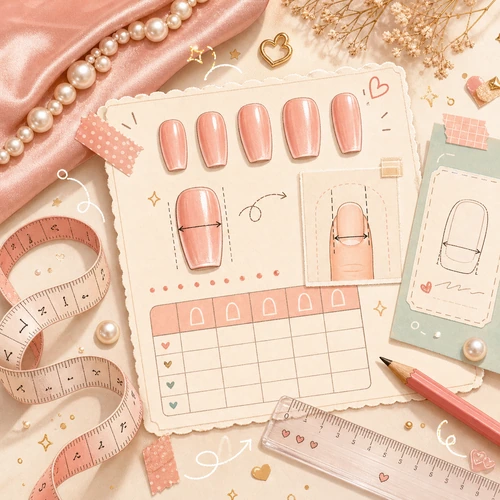
Start with clean, bare nails. Place a soft measuring tape across the widest part of the nail bed. If you do not have one, use a strip of clear tape or paper, mark both side walls, then measure the strip with a ruler.
Write down each nail separately: thumb, index, middle, ring, and pinky. Measure both hands because they are often not identical. LuxeClaw also has a full guide to measuring your nails if you want a slower walkthrough before ordering.
Do not round too aggressively
If your nail measures 11.5 mm, do not automatically jump to a much larger nail. Compare the chart, the nail shape, and the curve of your nail bed. A half millimeter difference may be fine, but a press-on that touches skin can be uncomfortable and easier to bump loose.
When you are between sizes, many buyers prefer to go slightly larger only if the edge can be filed gently. That is easier with simple shapes and less ideal with detailed side art. If the design has painted edges, charms, or a very specific outline, custom sizing may be the cleaner choice.
Standard sizes versus custom sizes
Standard sizes are helpful when your measurements line up neatly with the chart. They are faster to choose and usually work well for common nail widths. Custom sizes are better when a few nails sit outside the set range, when one hand differs from the other, or when your nail beds are small, wide, or flatter than average.
If sizing has been frustrating before, custom measurements can save the set. LuxeClaw’s guide to press-ons for small nail beds is also useful if standard sets often look too wide or bulky on your hands.
Common sizing mistakes
The easiest mistake is measuring the curve instead of the width. You want the side-to-side width across the nail bed, not a wraparound measurement over the top of the nail. A flexible tape can bend too much, so keep it flat and read the number at the widest point.
Another mistake is copying a friend, a past salon size, or one old press-on set. Brands can use different number systems, and shapes do not always translate perfectly. Your own millimeter notes are more useful than guessing from a size name.
Where a size kit helps
A size kit can be useful because you can place real sample tips over your nails instead of relying only on a ruler. That helps when your nail bed has a stronger curve, a flatter surface, or a shape that makes the same millimeter width feel different from one nail to the next.
If you use tools, keep them simple: a ruler, tape, notes, and a clean place to compare sizes. The LuxeClaw tips and tools page is a handy internal reference when you are building a small prep kit for application day.
Quick press on nail size guide for first-time buyers
Before you order, check these points:
- Measure the widest part of each natural nail, not the old press-on you wore before.
- Measure both hands and write the numbers down in order.
- Choose a nail that covers side to side without pressing into skin.
- Check the shape. Short square, almond, and coffin shapes can sit differently at the edges.
- Think about the design. Detailed side art leaves less room for filing.
- Pick custom sizing if several nails fall between standard sizes.
Test the fit before adhesive
When the set arrives, place each nail on your bare nail before using glue or tabs. Look at the side walls, cuticle curve, and free edge. The press-on should feel like it belongs there before adhesive is involved.
If you plan to reuse the set, gentle handling matters from the first wear. After removal, clean and store the nails carefully so the sizing order stays clear. The LuxeClaw press-on care guide covers storage and reuse basics.
Final thoughts
A press on nail size chart is only a starting point, but it is a very useful one. Measure slowly, compare both hands, and do not force a standard size when custom measurements would look cleaner. The best set is the one that looks pretty and feels easy to wear.