Exclusive Online Offer: Free Shipping On Orders Over €160,00!
Press On Nails for Wide Nail Beds: Fit Tips Before You Order
Press on nails for wide nail beds should not feel like a squeeze. If the sides dig in, the tip pops up at one edge, or the curve looks too narrow, the set is telling you something useful before you even wear it.
The fix is usually simple: measure the width, compare the sidewalls, and choose a set that gives your natural nail room to sit flat. LuxeClaw shoppers can start with the nail measuring guide, then use those numbers while browsing handmade styles in the LuxeClaw shop.
Wide nail beds are normal
A wider nail bed is not a flaw. It just means the natural nail has more side-to-side width, a flatter curve, or both. Some ready-made press-ons are cut with a narrow C-curve, so they sit beautifully on one person and feel pinched on another.
That is why wide press on nails are less about buying the largest size in the box and more about matching the shape of your own nail. A press-on can be wide enough at the center and still too narrow near the sidewalls.
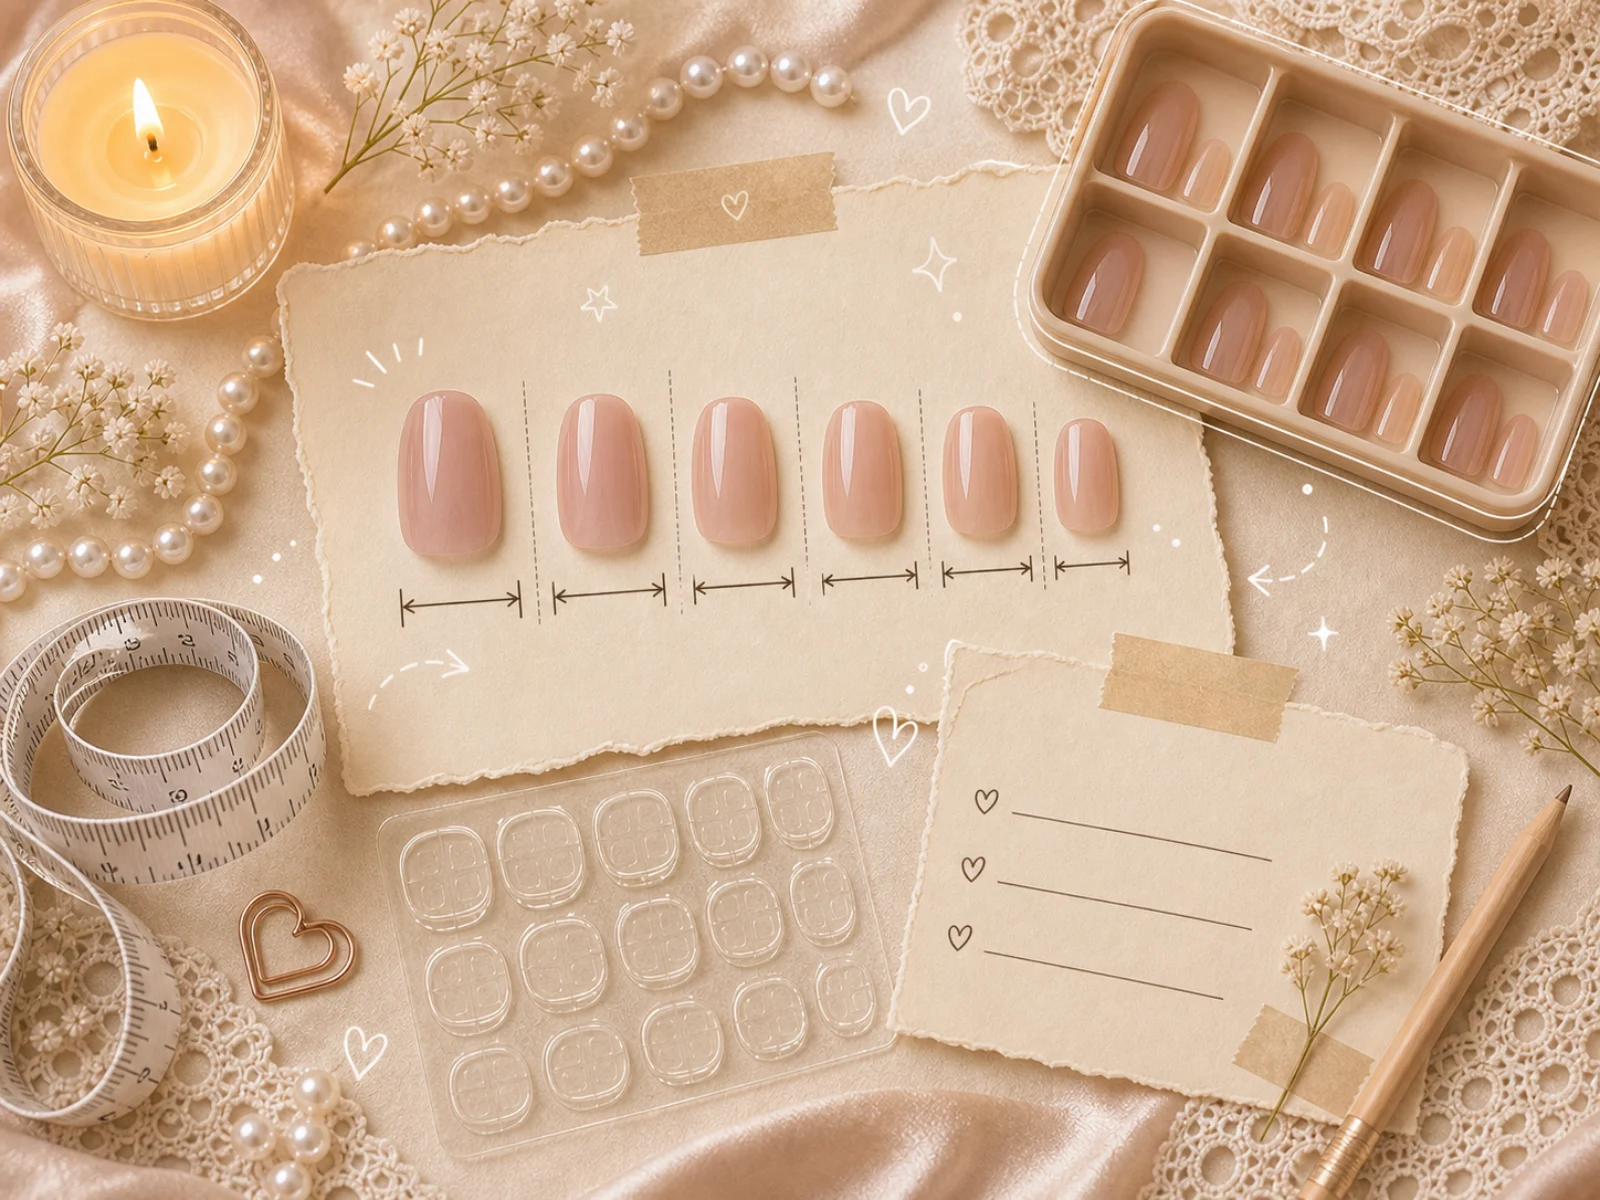
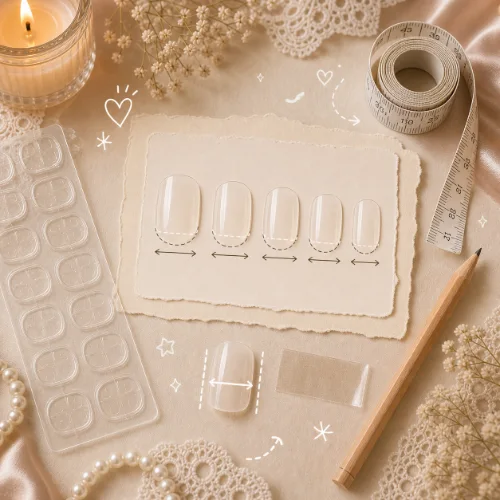
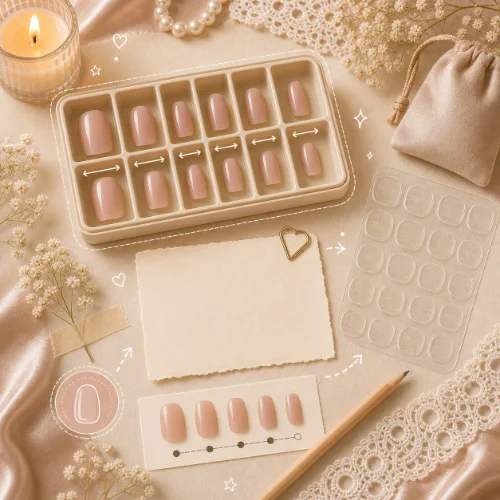
Measure width before choosing a set
Measure the widest part of each natural nail from sidewall to sidewall. A flexible tape, clear tape strip, or soft measuring paper works better than guessing by eye. Write down each finger separately because thumbs and middle fingers often need the most attention.
If you fall between sizes, look at the shape of the press-on. A slightly wider tip can be filed carefully at the side, but a tip that is too narrow cannot be stretched. When the choice is close, pick the size that covers the natural nail without touching skin.
How a too-narrow press-on feels
The first sign is pressure. A narrow press-on may feel tight at the sidewalls even before adhesive is added. You might also see daylight near the edges, a lifted corner, or a gap where the tip cannot follow the natural curve.
Do not try to force that fit with extra glue. Glue can fill a tiny gap, but it cannot make a narrow tip comfortable. Extra adhesive often creates more cleanup later and can make removal harder than it needs to be.
Press on nails for wide nail beds: fit rules that help
Look for three things: full sidewall coverage, a curve that rests naturally, and enough width near the cuticle area. The press-on should sit on the nail plate, not on the skin. It should also feel calm when you press it down, without springing back up.
Shorter lengths can feel easier because they put less leverage on the sides. Soft square, squoval, and shorter almond shapes are often friendly starting points. Very long tips can still work, but they ask for a cleaner fit because any side pressure gets more noticeable during daily tasks.
When custom sizing is worth it
Custom sizing is worth considering if standard sets are usually tight on your thumbs, middle fingers, or ring fingers. It is also useful when one hand is wider than the other, which is more common than people expect.
A custom-size set lets you order by your actual measurements instead of hoping a standard kit lines up. That matters for comfort, but it also helps the manicure look more natural. When the edges sit correctly, the design reads as intentional instead of pasted on.
Adhesive choices for wider nail beds
Adhesive tabs can work well when the fit is already good. They are clean, low mess, and easier to remove for short wear. The LuxeClaw guide to press-on nails with adhesive tabs is useful if you want a temporary set for photos, a dinner, or a gentle first try.
Glue can give a stronger hold, but it should not be used to fight a bad fit. If the nail is too narrow, glue may hold it down for a while, but the pressure can still feel uncomfortable and the edge may lift early.
Fit checks before you apply adhesive
- Set each press-on over the natural nail without glue first.
- Check that both sidewalls are covered without touching skin.
- Look at the cuticle edge and make sure the curve is close.
- Press lightly and see whether the tip springs back up.
- File only small excess width from the side, never the whole structure.
- Choose custom sizing if several fingers feel tight in standard sizes.
If your nails are sore, split, irritated, or damaged, pause before applying any artificial nail. The American Academy of Dermatology notes that artificial nails can leave natural nails thin, brittle, and dry, especially after rough removal or frequent wear. Comfort comes first.
Small nail beds and wide nail beds need different fixes
A person with small nail beds often needs shorter width and careful trimming. A person with wide nail beds usually needs better sidewall coverage and a flatter-feeling curve. LuxeClaw’s small nail beds guide covers the other side of the fit problem if you are comparing both.
The shared rule is that press-ons should match the nail you actually have, not the average size chart in your head. A neat measurement today saves a lot of lifting, pinching, and second-guessing later.
Final thoughts
Press on nails for wide nail beds can look soft, comfortable, and polished when the width is chosen with care. Measure first, dry-fit every nail, and choose custom sizing when standard tips keep fighting your shape. A good set should feel like it belongs there.